
Welcome to the Essential Guide for teaching the Form Drawing: The Straight Line and the Curved Line block.
Whether you are exploring Waldorf education for the first time or actively preparing to homeschool your First Grader, this guide provides a complete blueprint of the philosophy, goals, and daily structure you need to teach Form Drawing successfully at home.
The Philosophy: Why Form Drawing?
In a traditional educational setting, children are often handed a pencil and asked to trace the letter "A" or the number "2". In the Waldorf approach, we recognize that before a child can precisely form abstract symbols, they must first deeply, internally feel the physical shapes that make them up.
Form drawing isn't just about drawing loops on a page; it is a profound developmental tool. At age seven, children are actively finding their physical relationship with space. Everything in the universe can be broken down into two fundamental forms: the straight line and the curved line.
By working with these forms—first through imaginative stories, then through large bodily movements, and finally on paper—children achieve several critical developmental milestones:
Inner Balance: They experience the firmness of the straight line and the adaptability of the curve.
Motor Skills: They develop both gross motor cross-lateral movement and fine motor pencil control.
Handwriting Preparation: They train the hand to move fluidly, paving the way for beautiful, seamless handwriting in the subsequent Language Arts blocks.
The Curriculum: What You Will Teach
This initial Form Drawing block is designed to take roughly 10 instructional days. Here is a transparent look at the exact concepts and goals you must cover during this block.
The Form Progression:
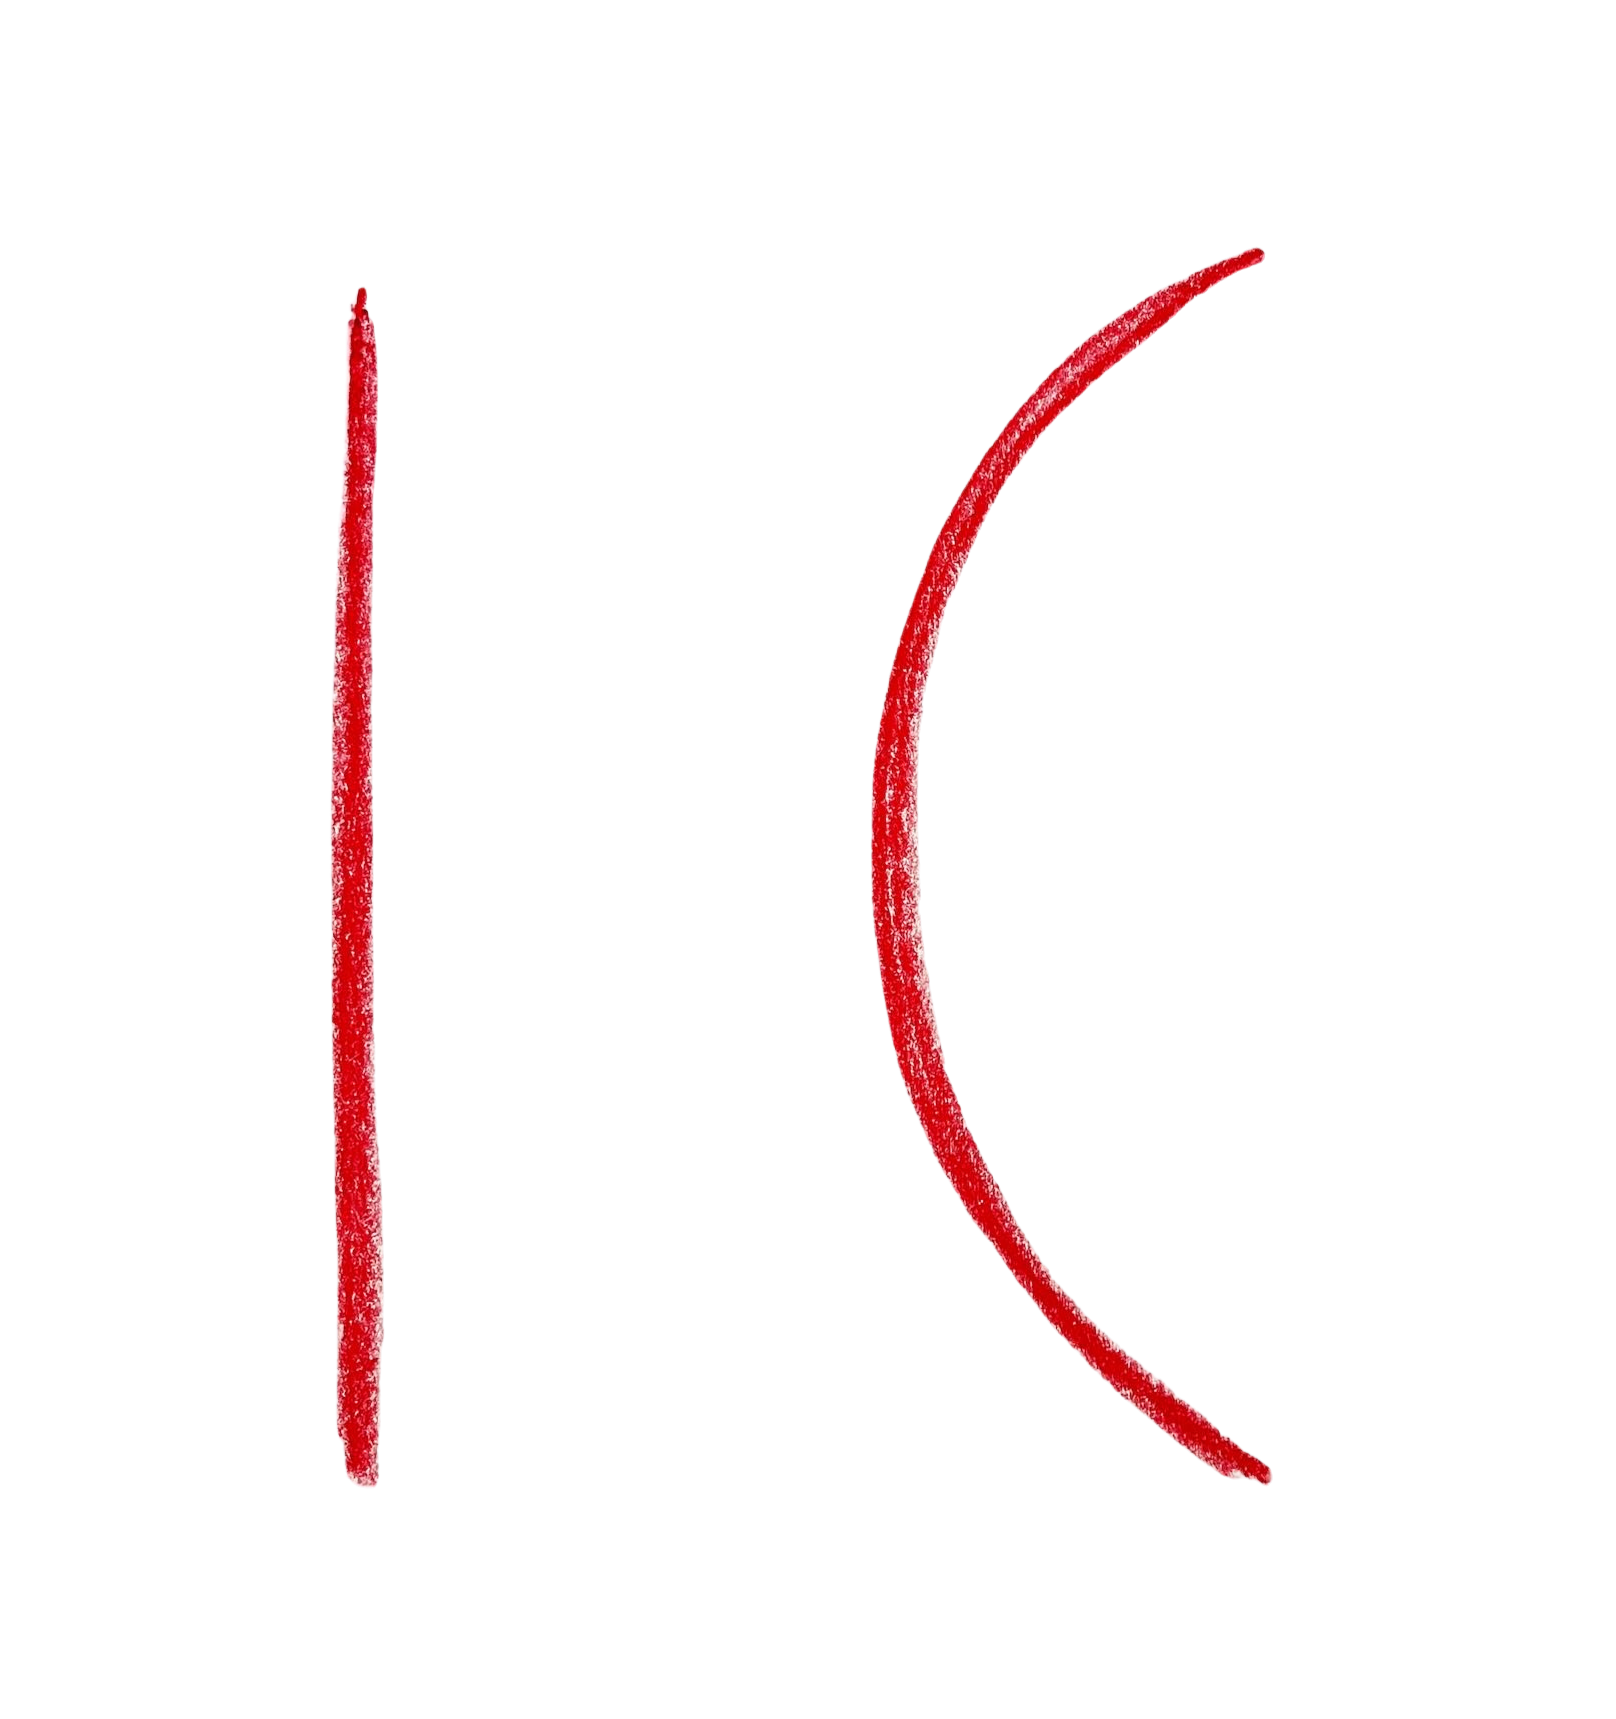
The Straight Line (Vertical and Horizontal)
The Curved Line (C-curves and Bows)
Growing Rainbow Arches
Spirals and Mazes
Zig-Zag Paths and Up-and-Down Steps
Your Learning Intentions:
By the end of your 10 days of teaching, your child should be able to:
Identify where straight and curved lines are found in the natural world.
Draw straight and curved lines fluidly without lifting the crayon.
Recognise and name everyday geometric shapes.
Describe the characteristics of various forms.
Practical Guidance: How to Set Up Your Space
You don't need a classroom full of expensive supplies to create magic at home—just a structured environment and a sense of wonder.
Materials Needed:
A4 or A3 Blank Paper: A large, spiral-bound sketch pad or loose, high-quality paper. Unlined paper is essential so the child's form is not restricted by artificial boundaries.
Stick Crayons: High-quality beeswax stick crayons (like Stockmar). We recommend using a bright, light color (like yellow) for the initial drafting, and a deeper, bold color for the final trace.
💡 Teacher Tip: The Power of the Candle
Light a small candle before you begin your daily storytelling. In the Waldorf classroom, lighting a candle naturally quiets the room, centers the child's energy, and signals that a special, imaginative time is beginning. Give the candle a moment to burn, tell your story, and blow it out together before transitioning to the drawing table.
The Waldorf Method: How to Structure a Daily Lesson
To successfully teach a Waldorf Main Lesson block, you do not just hand the child a worksheet. Every single day of your 10-day block should follow this basic three-part rhythm. Here is exactly how you do it, using the very first day (The Straight Line and Curved Line) as an example.
Step 1: The Imaginative Story
The Waldorf approach always introduces new academic concepts through imagination. You will need to write or find 10 engaging stories for this block.
Example Story Script:
"Imagine you are a prince (or princess) stepping outside your castle, far from any houses. You see tall, magnificent mountains far ahead in the distance. To reach them, a long path stretches out—perfectly straight. You take your first step forward—one foot, then the other—always moving in a straight line: tall, steady, and strong.
As you walk this long, straight path, you eventually hear the bubbling of water. You are walking beside a quiet stream. Unlike your path, the stream curves around rocks and trees, winding gently across the land. You follow it step by step as it merges and grows, becoming a great winding river. The straight path of your feet, and the gentle curve of the water."
Step 2: Movement & Exploration
Get the idea into the body first before taking it to the paper.
Example Movements:
The Straight Path: Find an open space and ask your child to walk a path as straight as possible with no winding or wobbling. Walk heel-to-toe, feeling the firmness of the straight line.
The River's Curve: Pour a stream of water on pavement or soil, notice how it curves, and have your child walk alongside its gentle bends. Or, lay out a curved path with yarn or string and walk it forward, then backward.
Air Tracing: Have your child draw a giant straight line in the air from top to bottom. Then, draw a long, sweeping curve from left to right.
Step 3: Drawing in the Main Lesson Book
Now, you bring the experience to the page. You must guide them step-by-step.
Example Drawing Instructions:
The Straight Line Structure: Ask your child to trace a straight vertical line softly on the blank page with their finger first.
First Draft: With a light yellow stick crayon, draw the first straight line very lightly from top to bottom, without lifting the crayon. Go over it four more times to build rhythm.
The Winding River Curve: Beside the straight line, guide their finger to trace a long, sweeping "C" curve (like a bow).
Second Form: Using that same light yellow crayon, draw the curve from top to bottom.
The Final Polish: Invite your child to choose a strong, final color (like a deep blue or red) and carefully retrace both the straight line and the curved line at least once to complete the page with a beautiful, bold finish.
Build It Yourself vs. The Guided Curriculum
You now have the exact blueprint to teach Form Drawing. If you have the time, you can absolutely use this guide to map out the 10-day progression, write your own daily stories, invent movement games, and plan your morning circles.
But for many homeschooling parents, planning 10 days of captivating stories and perfectly sequenced activities takes immense time and energy.
If you want to focus entirely on connecting with your child rather than planning your evenings away, the complete Form Drawing: The Straight Line and the Curved Line block is ready for you.
What’s inside the complete Block?
When you purchase the full block, all the heavy lifting is done for you. You instantly unlock:
10 Complete, Enchanting Stories: Word-for-word scripts (no more staring at a blank page).
15+ Sequenced Form Drawing Activities: Moving day-by-day from simple lines to rainbow arches and complex spirals.
Step-by-Step Daily Lesson Plans: Telling you exactly what to do, what to say, and what to draw.
Daily Morning Circle: Complete songs and rhythmic verses.
Everything is carefully structured to give you the confidence of an experienced Waldorf teacher, right out of the box.